Hello there. Here is my one and only scrapbook post for the month of May. I'm getting this one done just one time!! May has been busy ☺
I've used my Just Add Paper kit from D-Lish Scraps and joined in with their monthly challenge.
There is a bit of a 'beachy' feel to this mood board, so I've gone with some beach photo's of my youngest lad.
Here's what I've come up with:
All the embellishments are from the kit, I've only added in some sticker letters from my stash. Here are a few close-up's:
I love all the flowers and sequins!! I used these to tie in with the mood board elements.
I'm trying to 'like' my own hand writing in an attempt to use it more on my scrapbook pages - it really does give that more personal feel!
With the piece of tissue paper supplied in the kit, I've cut out multiple hearts using a heart punch, then added one of the cabochon flowers and made my own embellishment!
Well, I'm off to link this one up. I really hope June will bring more scrapbooking time ☺
Til next time ♥
Tuesday, 31 May 2016
Saturday, 21 May 2016
crochet blanket
Hello there. Lately, I've been filling in my spare time with this crochet blanket ☺.
Thought I'd share it here, as I love how it's turned out. I love the wide stripes and the 'ombre' effect.
The stitch is called Primrose Stitch and I've used the tutorial from Rescued Paw Designs!! I love this website and have made a number of blankets with patterns and ideas from this spot.
I've used six different colours in total and the stripes are 20 rows in each colour.
For the edging, I've chosen the pom-pom stitch which is just so fun to make.
Both sides of the blanket are equally as nice and have a different effect.
I really love the texture this stitch gives - the yarn is acrylic in 8ply and I used a 4mm crochet hook - so it crochets up fairly quickly. This blanket measures 100cm x 125cm.
I'll be adding this blanket to my pile to donate or giveaway. You can read about and see the other blankets HERE.
Now I'm off to find another crochet project to make or finish off some other projects that I have around the place ☺
Thanks for popping in ♥
Wednesday, 4 May 2016
love - D-Lish Scraps
Hello there. I managed to create a page using my D-Lish April kit but didn't quite finish on time for their monthly challenge. But I still wanted to share .......
the kit was 'girlish' and so I pulled out a photo of my niece and made this page!
Most of the bits on this page were included in the kit - excluding the orange alphabet stickers. I love using the Project Life app to edit my photo and add text. It's so quick and easy.
Here are a few close up's:
I've used the heart cut-out as a stencil too - adding texture with modelling paste and water colour paints. I also sprayed over the hearts on white cardstock with some colour shine from Heidi Swapp, then used my heart punch.
With the roll of wire from the kit I decided to make the word 'love' and use that as part of my title. I've popped one of the flair buttons on the letter 'O'. Love how it's turned out!
Have a great week and thanks for popping in ♥
Subscribe to:
Posts (Atom)
school @ home
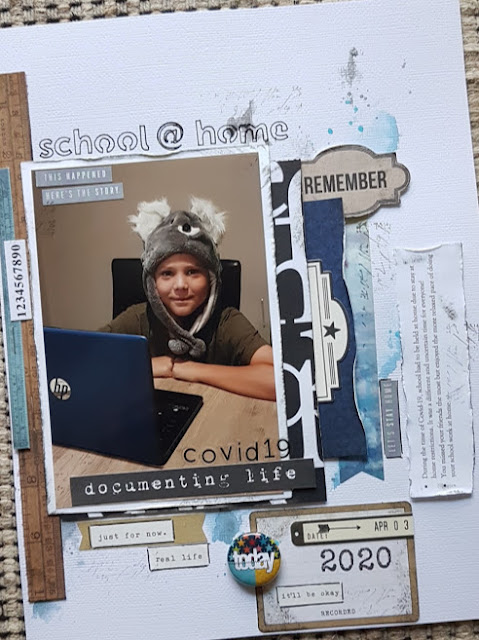
Hello, I definitely wanted to record this little moment! School @ home due to stay at home restrictions because of COVID-19. It was certai...
-
Sorry, this post is a little late, but here it goes for the blog hop....... Hello there Magnolia Lovers and Welcome to the 1st Birthday Bl...
-
IT'S GIVE AWAY TIME. ... to coincide with my Creative Bits clearance sale , I'm also having a give away. * a pile of coloured do...
-
I just love this picture of one of my boys - he's in his element - FISHING! Because I love it so much, I've done a bit of a repeti...